Removal procedures for MeshCanvas owners that are experiencing difficulty removing their tiles. The specially made sticky pads are very strong after they have been bonded with your walls for a few weeks without moving them. Therefore, here’s a step by step removal process for users that have this problem.
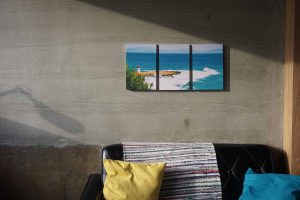
4 Steps to Install Photo Tiles
1) Choose a perfect wall surface
Use on wood, tile, painted walls, glass, and most other wall surfaces that are clean, dry and smooth. We don’t recommend sticking photo tiles on wallpaper (Although it’s O.K. for our wallpaper.), delicate surfaces or wall painted with flat paint. They may damage some substrates upon removal.
2) Prepare a Clean Dry Towel
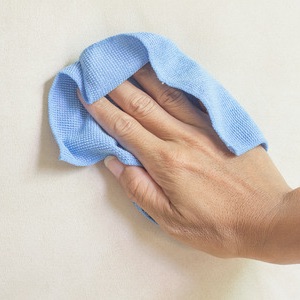
Wipe the wall surface with a clean dry towel to prevent dirt and dust from interfering with the adhesives and affect the bond. In the case of a dirty wall, use water to clean the surface and wait until it dries.
3)Peel off backing tapes
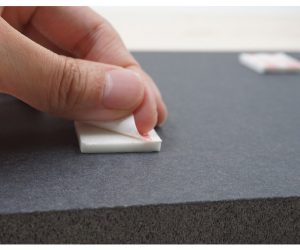
Peel off stickers on the back, and don’t forget to store or save backing tapes for future use.
4) Mount canvas on the wall
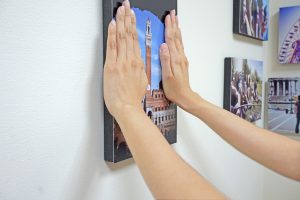
Mount canvas on desirable wall location and apply pressure for 3-5 seconds.